
Ever dreamed of a loaf that’s soft like a cloud, golden-orange from the inside out, and makes your kitchen smell like the best bakery in town? That’s pumpkin sourdough. It’s the love child of tangy sourdough and sweet, earthy pumpkin, and it’s the kind of bread that has people asking if you’ve secretly gone pro. I’ve been making pumpkin sourdough bread for years, and every time I pull one from the oven, I swear the neighbors start finding reasons to drop by.
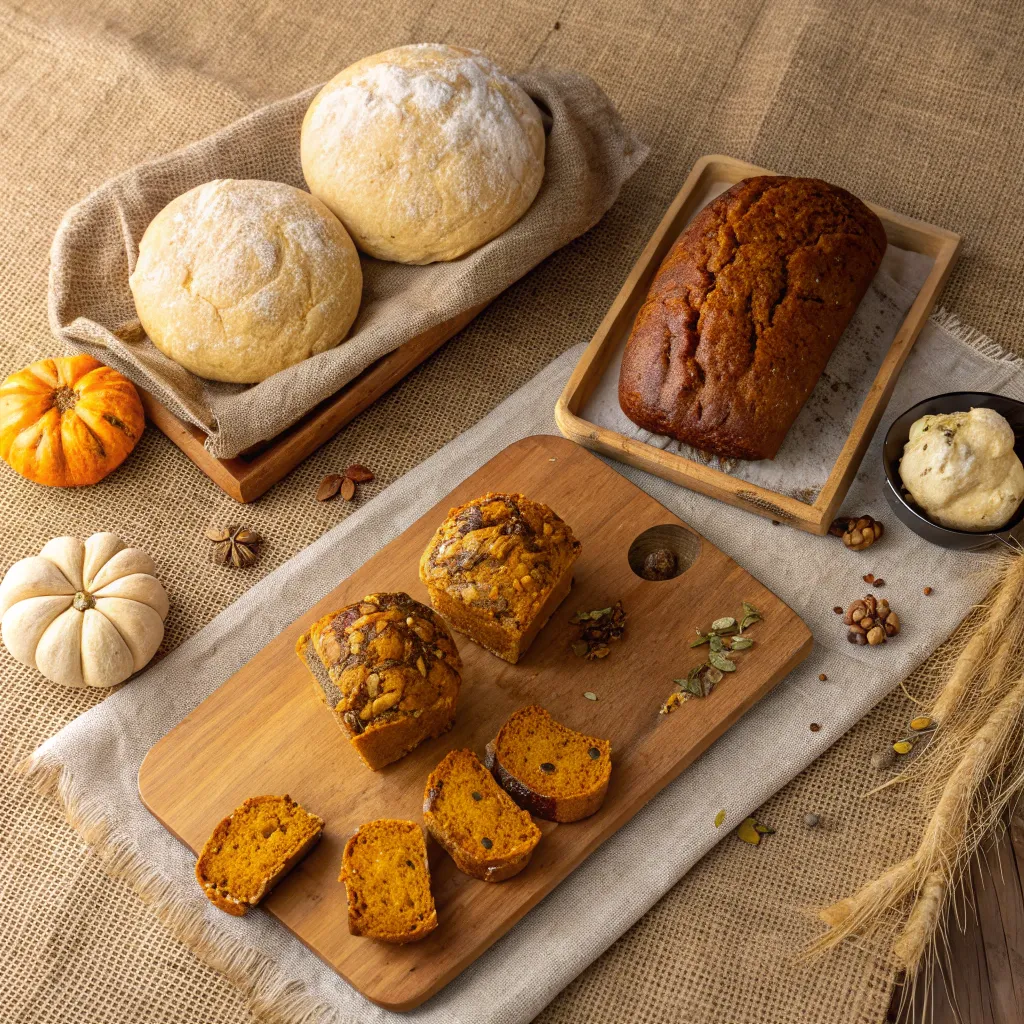
When I first started baking, I was intimidated by sourdough. Then I realized, if you can stir pumpkin puree into pancake batter, you can make sourdough pumpkin bread. It’s forgiving, flavorful, and thanks to the natural fermentation, it has that deep, complex taste without much fuss. Plus, there are so many ways to enjoy it: a classic loaf, soft sourdough pumpkin muffins, or even a showstopping pumpkin-shaped sourdough loaf for the holidays. And yes, you can absolutely use sourdough discard to whip up a quick sourdough discard pumpkin bread, zero waste, maximum flavor.
Table of Contents
Why Pumpkin and Sourdough Just Work Together
The Flavor Combo Everyone Needs
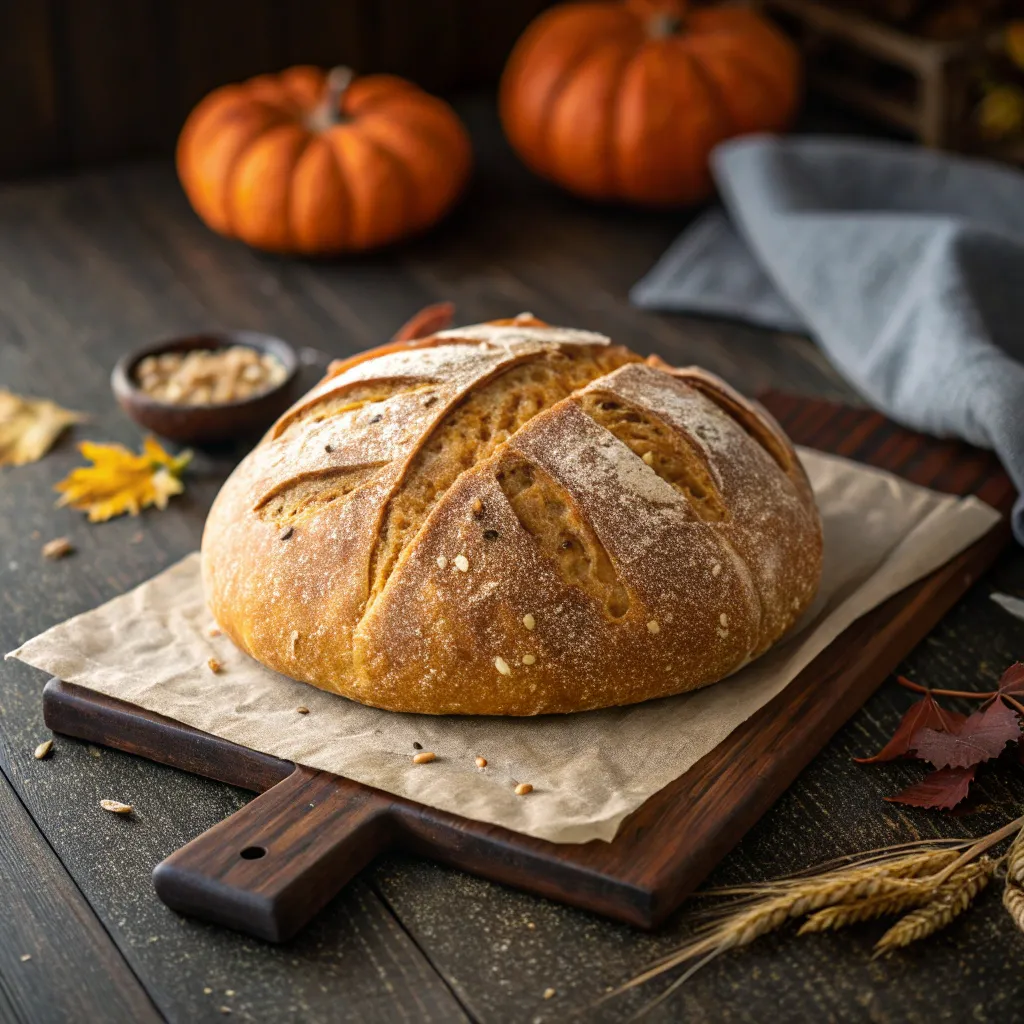
Pumpkin’s natural sweetness mellows the tang of the starter, giving you a bread that’s perfectly balanced. Sourdough pumpkin bread has a depth that regular yeast bread just can’t touch, and that hint of pumpkin spice you can add makes it smell like an autumn dream. The crumb is soft, the crust has just the right crunch, and the color is gorgeous without adding a drop of artificial anything.
The Texture You Can’t Fake
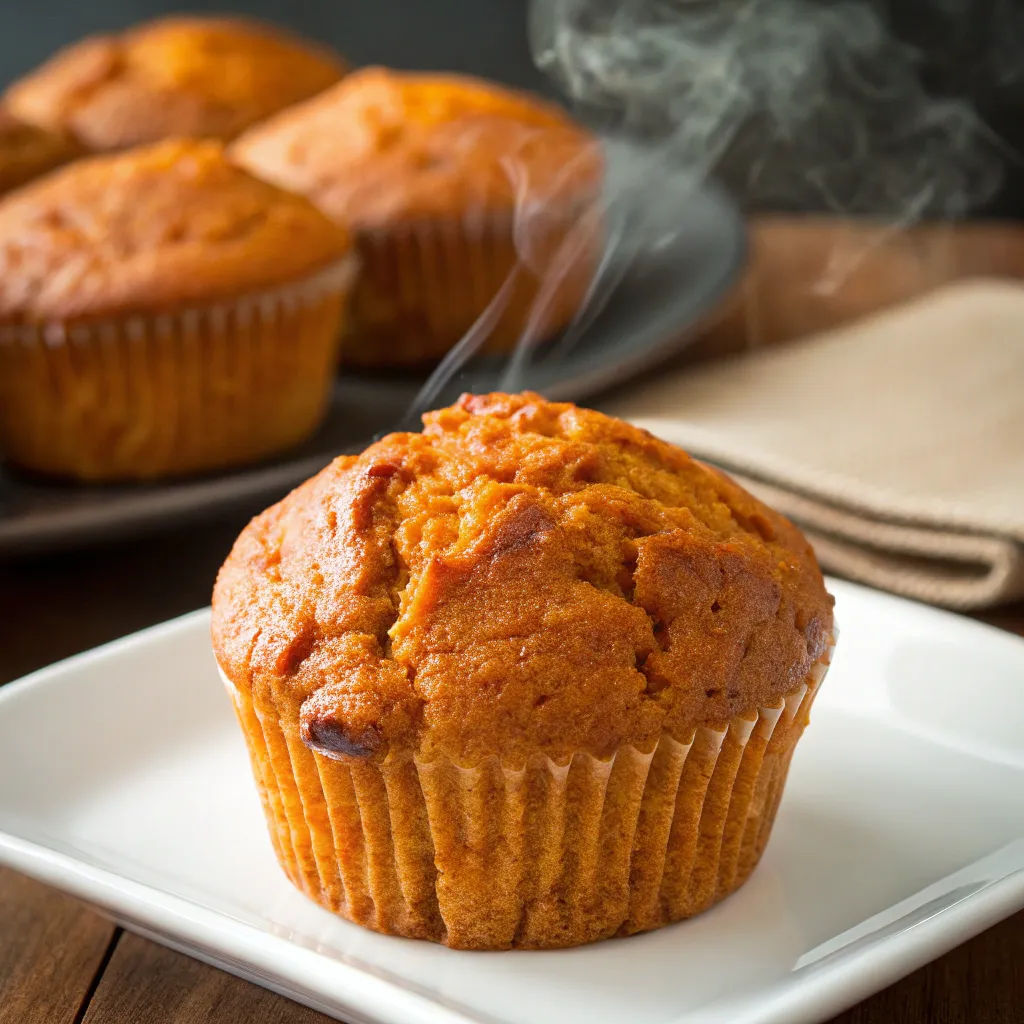
Sourdough brings chew, pumpkin brings softness. Together, you get slices that hold up for sandwiches but are still tender enough to eat plain. And if you’ve ever tried sourdough pumpkin muffins, you know they’re like little flavor-packed pillows, perfect for breakfast or a snack. The moisture from the pumpkin keeps everything fresh longer too, so you’re not stuck eating dry bread by day three.
A Little Story from My Kitchen
I still remember the first time I tried making pumpkin sourdough bread. I didn’t follow the recipe exactly (classic me), and I was nervous when the dough looked more like thick batter than bread dough. But the magic of sourdough is that with a little time, stretch-and-fold love, and patience, it transforms. That first loaf was a little rustic, but it was also the most beautiful bread I’d ever tasted. Since then, I’ve played with everything from pumpkin sourdough muffins to the famous pumpkin-shaped sourdough bread that looks so good it’s almost too pretty to eat… almost.
Mastering the Art of Pumpkin Sourdough Bread
Mixing and Hydration for Perfect Dough
If you’ve baked plain sourdough before, you’ll notice pumpkin changes the game. It’s like adding a friendly but unpredictable guest to your party. The pumpkin puree brings in moisture, sweetness, and a little extra softness, but it also means you need to watch your hydration. For a standard pumpkin sourdough bread, I start with less water than my usual recipe. Why? Because pumpkins are sneaky and hold more liquid than you think.
Here’s the trick: mix your bread flour, whole wheat flour, pumpkin puree, active sourdough starter, and salt first, then slowly add water until the dough feels slightly tacky but not runny. The goal is a dough that stretches without tearing but isn’t so wet that it puddles. With pumpkin sourdough, less is more in the beginning, you can always add a splash of water later during your first fold.
If you’re making sourdough pumpkin muffins instead, hydration isn’t a big deal because you want a looser batter. Just whisk your wet ingredients, including pumpkin puree and sourdough discard, then fold in the dry. It’s easy, fast, and still delivers that pumpkin sourdough flavor we’re obsessed with.
Check out our Healthy Pumpkin Muffins if you’re already planning your next baking session.
Bulk Fermentation: Patience Pays Off
Pumpkin’s natural sugars make your dough rise faster than plain sourdough, but don’t rush it. For pumpkin sourdough bread, bulk fermentation usually takes 4–6 hours at room temperature, depending on how perky your starter is. Look for a dough that’s puffy, airy, and jiggles when you nudge the bowl.
During bulk ferment, I like to do three or four rounds of stretch-and-fold every 30 minutes. This builds gluten strength so your pumpkin sourdough loaf holds its shape in the oven. It also gives you an excuse to peek at your dough and smell that developing pumpkin spice aroma-seriously, it’s like a free therapy session.
If you’re making sourdough discard pumpkin bread (hello, PAA query), the bulk fermentation step is much shorter or even skipped. That’s because discard recipes often use baking soda or baking powder for lift. The bonus? You get that sourdough tang without waiting all day.
Looking for inspiration? Try our Pumpkin Chocolate Chip Bread to keep the baking going all season long.
Shaping for Success
Now, if you’re going for a standard round pumpkin sourdough loaf, just shape it into a boule by folding the edges toward the center until you have a smooth ball. Pop it into a floured banneton seam-side up, and you’re set.
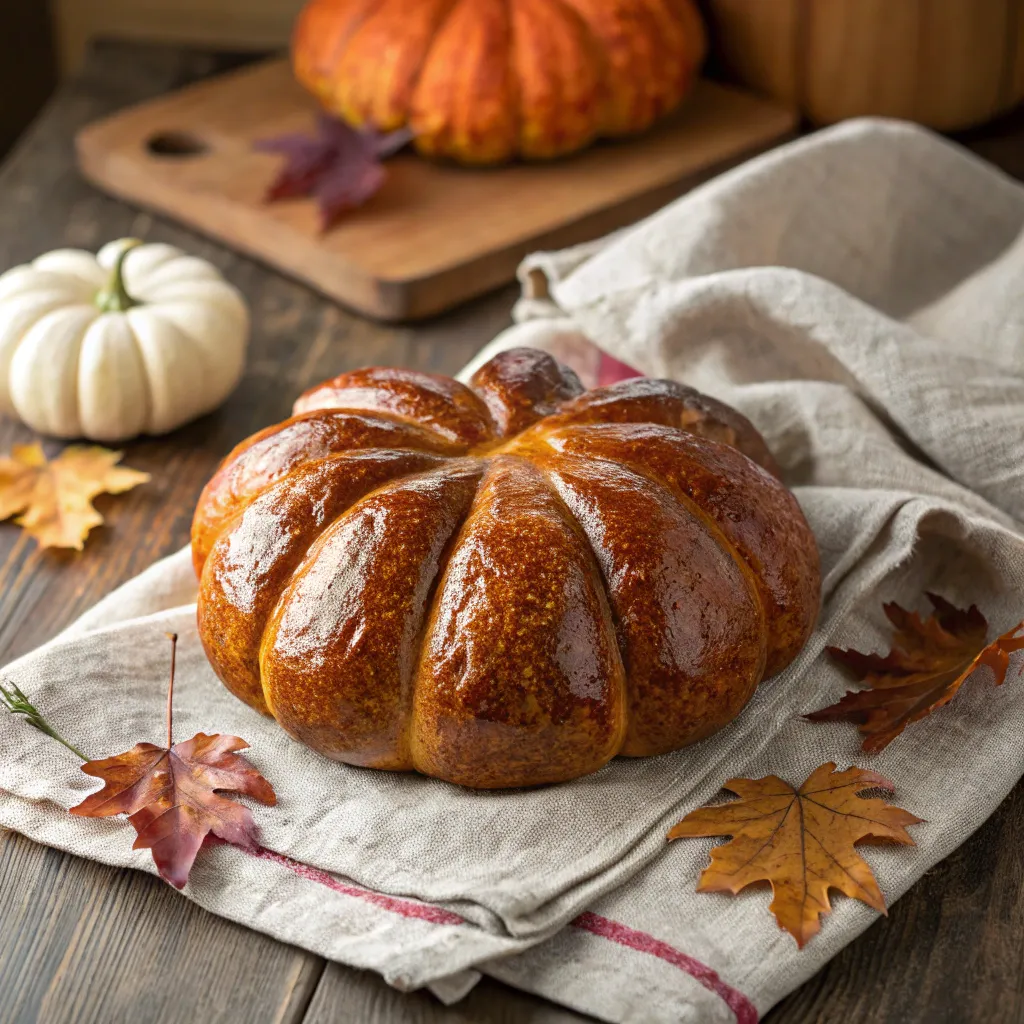
But if you’ve been itching to know how to make a pumpkin shaped sourdough loaf, this is the fun part. Lightly flour several pieces of kitchen string, then tie them loosely around the shaped dough so it’s sectioned like a pumpkin. Don’t tie too tight, remember the dough will rise more during the final proof. When it bakes, those lines create the cutest pumpkin sections. After baking, you snip off the strings and pop a cinnamon stick or pecan in the middle for a “stem.” Instagram-worthy and surprisingly easy.
If you prefer muffins, skip all that and just spoon your sourdough pumpkin muffins batter into lined muffin tins. Bonus: they’ll be ready before your coffee cools.
Don’t miss our Pumpkin Spice Cake for more ways to impress without the stress.
Proofing, Baking, and Serving Pumpkin Sourdough
Proofing: The Secret to Flavor and Shape
After shaping your pumpkin sourdough bread, the final proof is where magic happens. For me, the fridge is non-negotiable; cold proofing overnight not only deepens flavor but also makes the dough easier to score. When you take your pumpkin sourdough loaf out in the morning, it should feel firmer and slightly domed, ready for the oven.
If you’re going for a pumpkin shaped sourdough loaf, this is where you double-check that your kitchen strings are still loose enough. Too tight, and the dough might burst through in odd places. Too loose, and the pumpkin “sections” might blur. With practice, you’ll get that perfectly defined pumpkin shape every time.
For sourdough pumpkin muffins, proofing is a breeze because they’re technically more like quick bread. The batter just rests while your oven preheats, letting the baking powder or soda do its thing. No overnight wait. Just mix, rest, and bake.
Baking: From Dough to Golden Glory
The bake is where all your work pays off. I start my pumpkin sourdough bread in a preheated Dutch oven-lid on for the first 20 minutes at 230°C to trap steam, then lid off for another 20–25 minutes until the crust is deep golden. The moment you lift the lid and see that rise is pure baker’s joy.
If you’ve made a pumpkin shaped sourdough loaf, you’ll notice the sections have puffed beautifully. Once it’s baked, carefully snip the strings while it’s still warm, and let the loaf cool fully before slicing. Cutting too early can lead to a gummy crumb, and trust me, it’s worth the wait.
For sourdough pumpkin muffins, bake at 180°C for 20–25 minutes, just until the tops spring back when touched. If you’re making sourdough discard pumpkin bread, baking time will vary depending on your pan, usually around 50–60 minutes for a loaf.
Serving Ideas That Win Every Time
Here’s the thing: pumpkin sourdough is already amazing on its own, but the right toppings make it shine.
- Freshly sliced pumpkin sourdough bread with salted butter and a drizzle of honey, simple but unforgettable.
- Sourdough pumpkin muffins with a cream cheese glaze for a dessert-like treat.
- Sourdough discard pumpkin bread toasted and topped with almond butter for breakfast.
- Pumpkin shaped sourdough loaf as a Thanksgiving centerpiece, guaranteed to get compliments before anyone even tastes it.
This bread also makes fantastic grilled cheese, especially with sharp cheddar or creamy brie. The sweet pumpkin notes balance the savory richness, and it’s basically comfort food on another level.
Discover great ideas like Pumpkin Desserts if you’re feeling extra festive.
Pro Tips, Troubleshooting, and Your Pumpkin Sourdough FAQ
Tips for Foolproof Pumpkin Sourdough Bread
Even seasoned bakers can have a pumpkin sourdough loaf that doesn’t go as planned, so here’s how to avoid common pitfalls:
- Weigh your pumpkin puree. Too much can make your dough overly wet, leading to a flat loaf. Stick to the recipe and adjust hydration carefully.
- Use active starter. Your sourdough starter should be bubbly and at peak activity, especially important for pumpkin sourdough bread since the pumpkin’s natural sugars speed things up.
- Control the spice. While cinnamon, nutmeg, and cloves bring warmth, too much can slow fermentation. Keep it balanced for flavor and structure.
- Cold proof overnight. This step enhances flavor and makes scoring easier. It also helps maintain shape for pumpkin shaped sourdough bread.
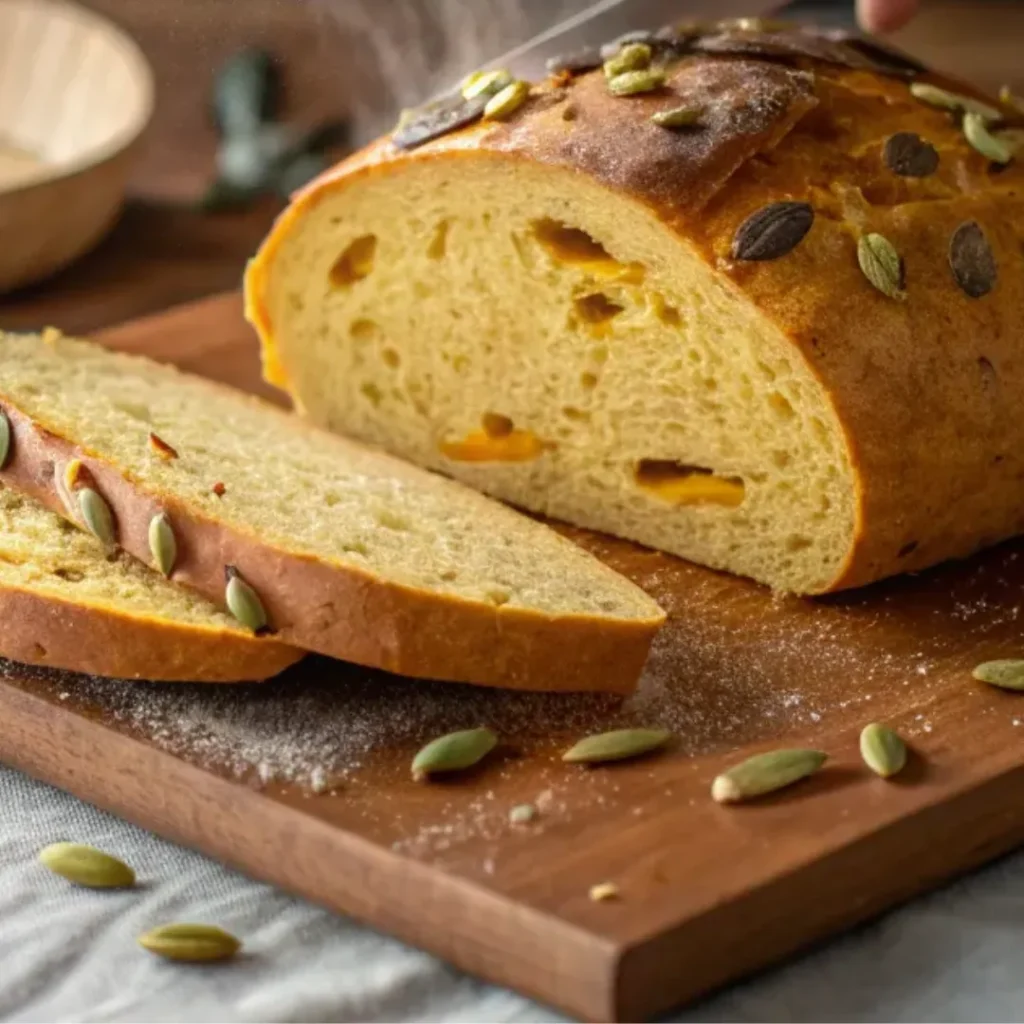
- Don’t rush the cool down. Cutting into your bread while it’s hot releases steam and can give you a gummy crumb. Let your loaf cool at least an hour before slicing.
Troubleshooting Common Issues
- Flat loaf: Could be over-proofing or too much moisture in the dough. Next time, shorten the bulk ferment or reduce pumpkin puree slightly.
- Dense crumb: Your starter may have been underfed or not fully active. Feed it earlier in the day before mixing your pumpkin sourdough.
- Cracked sections on pumpkin shaped sourdough: Strings were too tight. Loosen them next time and make sure your dough is shaped gently.
- Muffins that sink: Batter may have been overmixed, or oven temperature too low. Keep your mixing gentle and check your oven calibration.
Conclusion : The Cozy Wrap-Up
Pumpkin sourdough isn’t just bread, it’s the essence of fall in every slice. From the tangy, soft crumb of pumpkin sourdough bread to the quick joy of sourdough pumpkin muffins or the show-stopping beauty of a pumpkin shaped sourdough loaf, there’s a version for every mood. And when you make sourdough discard pumpkin bread, you turn kitchen scraps into something you’ll be proud to share.
So go ahead and wake up your starter, grab that pumpkin puree, and fill your kitchen with the smell of golden loaves baking. Because honestly, pumpkin sourdough is one of those recipes that’s as satisfying to make as it is to eat, and once you’ve tried it, you’ll find yourself craving it every time the leaves start to fall.
Hungry for more recipes? Follow our culinary adventures on Pinterest and Medium
FAQ :
How to make a pumpkin shaped sourdough loaf?
Shape your dough into a ball, tie with floured kitchen twine into sections, proof, bake, then snip strings after baking. Add a cinnamon stick in the center for a stem.
How to make pumpkin sourdough bread?
Mix bread flour, whole wheat flour, pumpkin puree, sourdough starter, salt, and water. Bulk ferment, shape, cold proof overnight, then bake in a Dutch oven until golden.
How to make pumpkin shaped sourdough bread?
Same as above, but shape with strings for the pumpkin look. Proof carefully so the lines stay defined.
How to make a pumpkin sourdough loaf?
Follow your standard sourdough process with pumpkin puree added, adjusting hydration and proofing times for best results.
How To Bake The Best Pumpkin Sourdough Bread?
Ingredients
Equipment
Method
- Combine the active sourdough starter, water, and pumpkin puree in a large bowl, mixing until well combined.
- Add the bread flour, whole wheat flour, salt, and pumpkin pie spice to the wet ingredients, mixing until no dry flour remains and a shaggy dough forms.
- Cover the bowl and let the dough rest for 30 minutes, then perform 4 sets of stretch and folds at 30-minute intervals.
- After the folds, allow the dough to bulk ferment at room temperature for 3-5 hours, or until it has increased in volume by about 30-50%.
- Gently turn the dough out onto a lightly floured surface and pre-shape it into a round, letting it rest for 20 minutes.
- Perform the final shaping, then transfer the dough seam-side up into a floured banneton or a bowl lined with a floured tea towel.
- Cover the banneton and refrigerate for 12-18 hours for a cold proof, which develops flavor and makes the dough easier to handle.
- Preheat your oven to 450°F (230°C) with a Dutch oven inside for at least 30 minutes.
- Carefully remove the hot Dutch oven, invert the dough into it, score the top with a sharp blade, and bake with the lid on for 25 minutes.
- Remove the lid and continue baking for another 15-20 minutes, or until the crust is deeply golden brown.
- Transfer the baked bread to a wire rack to cool completely for at least 2 hours before slicing and serving.