
No-Bake Peanut Butter Buckeye Bars are the ultimate crowd-pleaser. They deliver the classic combo of peanut butter and chocolate with zero baking needed. Perfect for warm days, busy schedules, or last-minute party prep, these bars are rich, creamy, and incredibly satisfying. Whether you’re making them for a potluck or storing a batch for snacking, they’re always a hit.
Ingredients
Peanut Butter Layer
-
1 cup creamy peanut butter
-
½ cup powdered sugar
-
½ cup graham cracker crumbs (use gluten-free if needed)
Chocolate Topping
-
1 cup semi-sweet chocolate chips (or milk chocolate for a sweeter taste)
-
1 tablespoon coconut oil
Instructions
1. Make the Peanut Butter Base
-
In a mixing bowl, stir together peanut butter, powdered sugar, and graham cracker crumbs until smooth.
-
Press the mixture evenly into a parchment-lined 8×8-inch baking dish.
2. Prepare the Chocolate Layer
-
In a microwave-safe bowl, combine chocolate chips and coconut oil.
-
Microwave in 30-second intervals, stirring between each, until fully melted and smooth.
3. Assemble and Chill
-
Pour the melted chocolate over the peanut butter base and spread evenly.
-
Refrigerate for at least 1 hour, or until firm.
4. Slice and Serve
-
Cut into squares or bars and serve chilled for best texture.
Serving Suggestions
Serve these bars straight from the fridge for a cool and creamy dessert. They pair beautifully with a glass of milk or a strong cup of coffee. For parties, cut them into bite-sized squares and sprinkle with flaky sea salt or chopped nuts for extra flair.
Storage Tips
Keep the bars in an airtight container in the refrigerator for up to 1 week. For longer storage, freeze them in layers with parchment between each piece. Thaw slightly before serving for the best texture.
Helpful Tips
-
Use smooth peanut butter for a creamier texture.
-
Line your pan with parchment paper for easy lifting and slicing.
-
Want a thicker chocolate layer? Add extra chips.
-
Add a pinch of salt to the base for flavor contrast.
Variations
-
Swap semi-sweet for milk chocolate for a sweeter dessert.
-
Top with chopped peanuts or pretzels before the chocolate sets for added crunch.
-
Use almond butter or sunflower seed butter for an allergy-friendly twist.
Frequently Asked Questions
Can I use crunchy peanut butter?
Yes, it will add texture. Just expect a slightly less smooth consistency.
How long do these bars keep?
Up to 1 week in the fridge or 3 months in the freezer.
Can I make them gluten-free?
Absolutely. Just use gluten-free graham cracker crumbs.
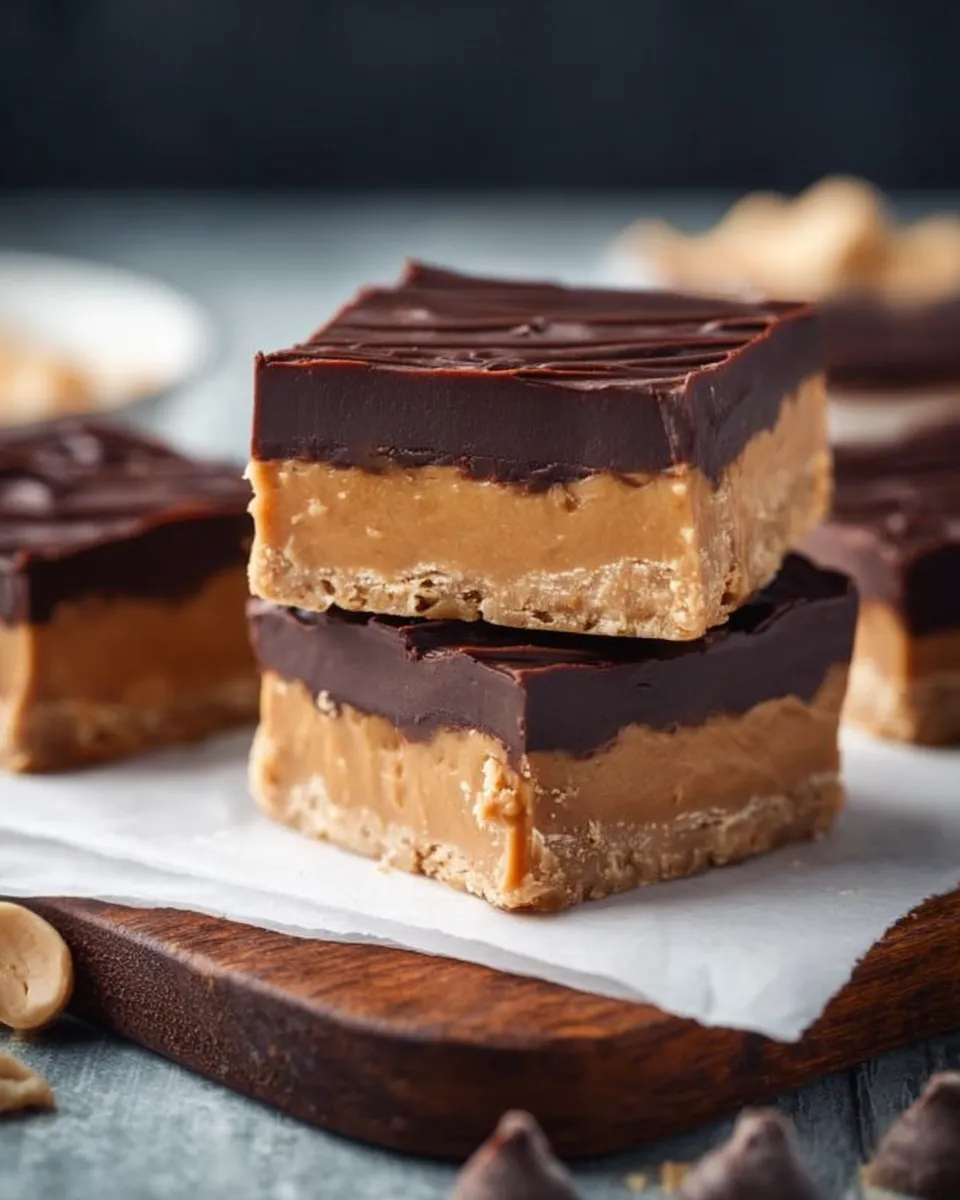
Peanut Butter Buckeye Bars with Chocolate Topping
Ingredients
Method
- In a mixing bowl, combine the peanut butter, powdered sugar, and graham cracker crumbs until well mixed.
- Press the mixture into a lined 8x8 inch baking dish evenly.
- In a microwave-safe bowl, combine the chocolate chips and coconut oil.
- Microwave in 30-second intervals, stirring until smooth.
- Pour the chocolate mixture over the peanut butter layer and spread evenly.
- Refrigerate for at least 1 hour or until set.
- Cut into bars and enjoy! These bars are best served cold.